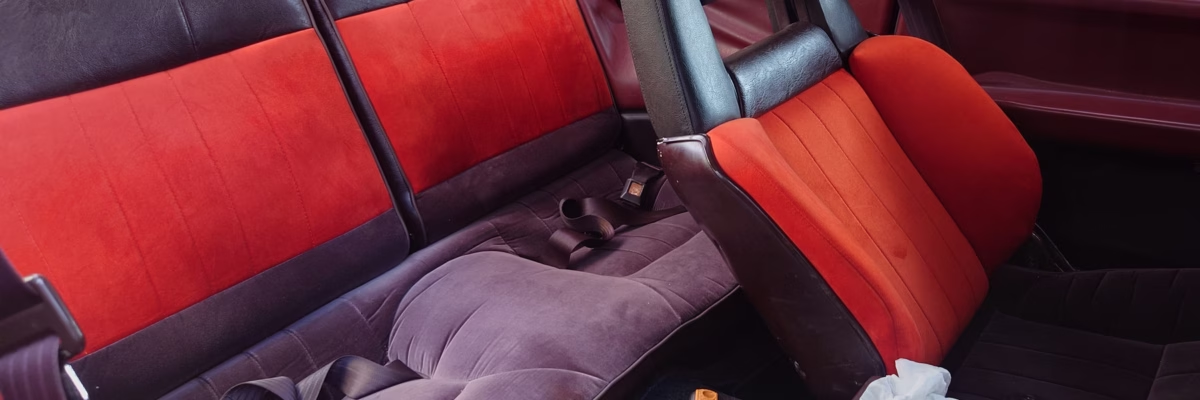
A couple of month ago, I wrote a review of the TimeMachine AE86 seat covers. Back then, I had finished restoring the passenger seat. In the meantime, I have completed the full interior restoration and reworked all seats on my AE86, and think it’s a good time to write up an updated summary!
The passenger seat has passed the initial evaluation. So far, it handled the first hot Japanese summer and spilled drinks well. After about ~one year of use, the seat still looks like brand new.
I therefore decided to proceed, and upholster the remaining fabric as well.
Rear Bench
I started with the rear bench. Same as in my first review, I am quite unhappy with the choice of fabric. The orange fabric used by TimeMachine is simply a poor fit.
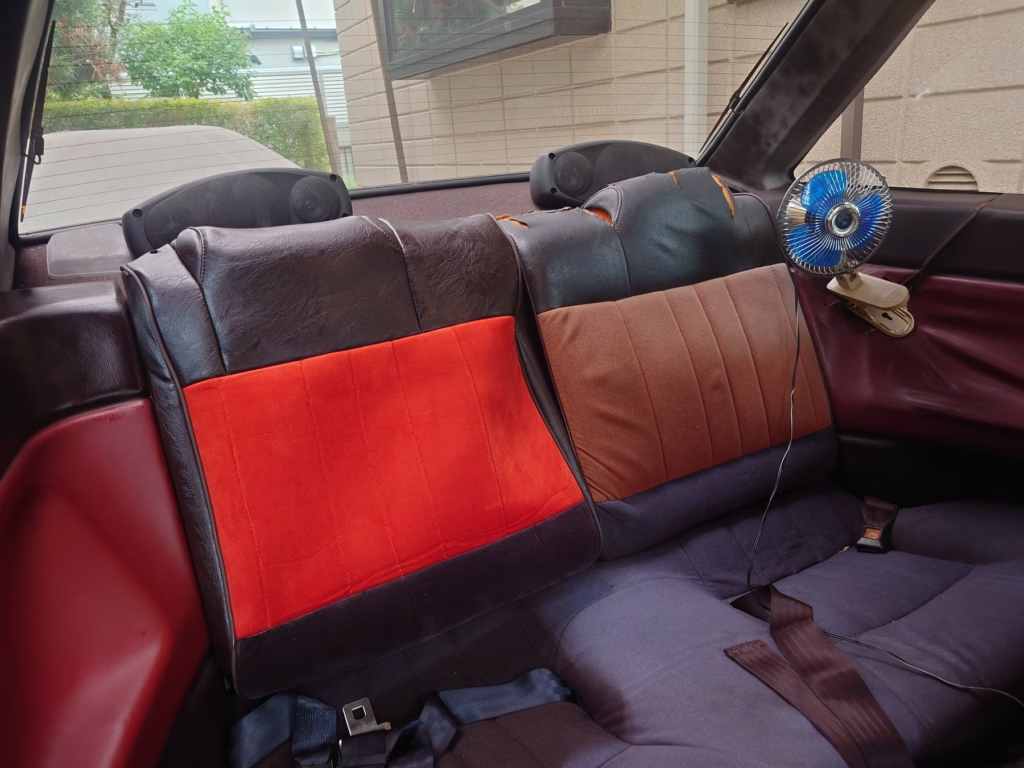
Don’t get tricked by the original parts discoloration. You need to keep in mind that the original parts in above picture have aged a lot. For a better comparison, look at this example of a pristine interior. It shows that even when new, the maroon fabric was slightly brighter than the quarter trim vinyl.
The upper leader part of the rear seats was originally brown, but faded to a dark blue hue. The replacement seat cover leather is, in fact, a pretty accurate replacement. Similarly, the bottom part of the bench should be brown, not blue. You can see that a part of my old bench had been covered for many years, which is where the original fabric color has been preserved.
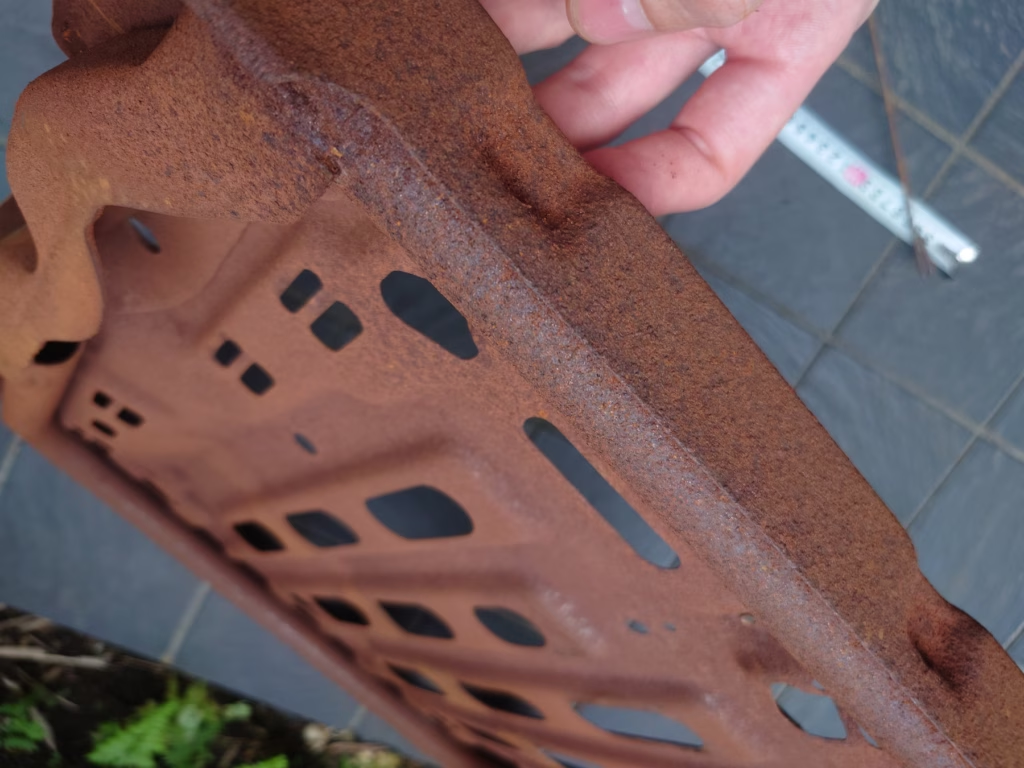
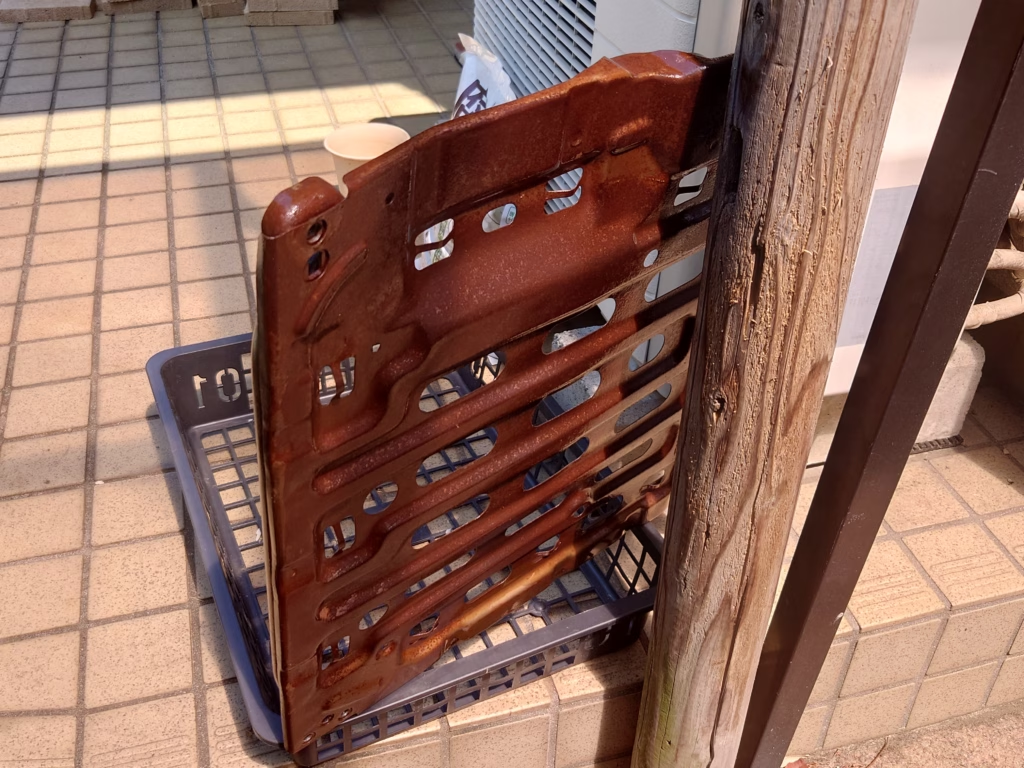
The seat frames were not corrosion-protected from factory. Decades of humid Japanese summers have caused the steel frame to accumulate a thick layer of rust. I was thinking of having them sandblasted and zinc-coated, but in the end decided to instead preserve the traces of aging by painting the parts with transparent Owatrol oil.
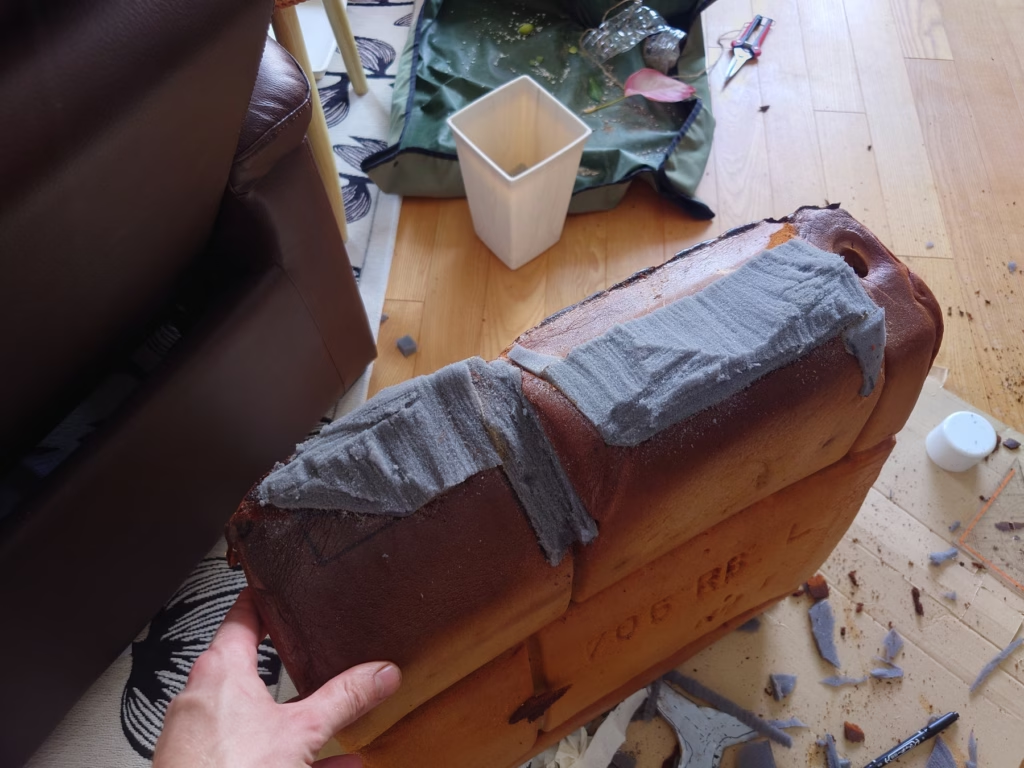
The upper seat back cushions were damaged and required repairing. To do this, you’ll need replacement foam. I used flame-retardant urethane foam, which worked well, but is slightly softer compared to the original material. If I do it again I would pick a slightly firmer foam. For gluing it to the original foam material, I used 3M 88 spray glue. A standard cotton cloth works well to stabilize slightly damaged foam.
For the actual repair, I used a sawblade to generously cut out the damaged foam. From my experience, you’ll get better results if you mark and cut out larger rectangular sections: it’s much easier to create a foam piece that fits into the rectangular cutout than to try to craft a repair piece that perfectly fits the damaged areas.
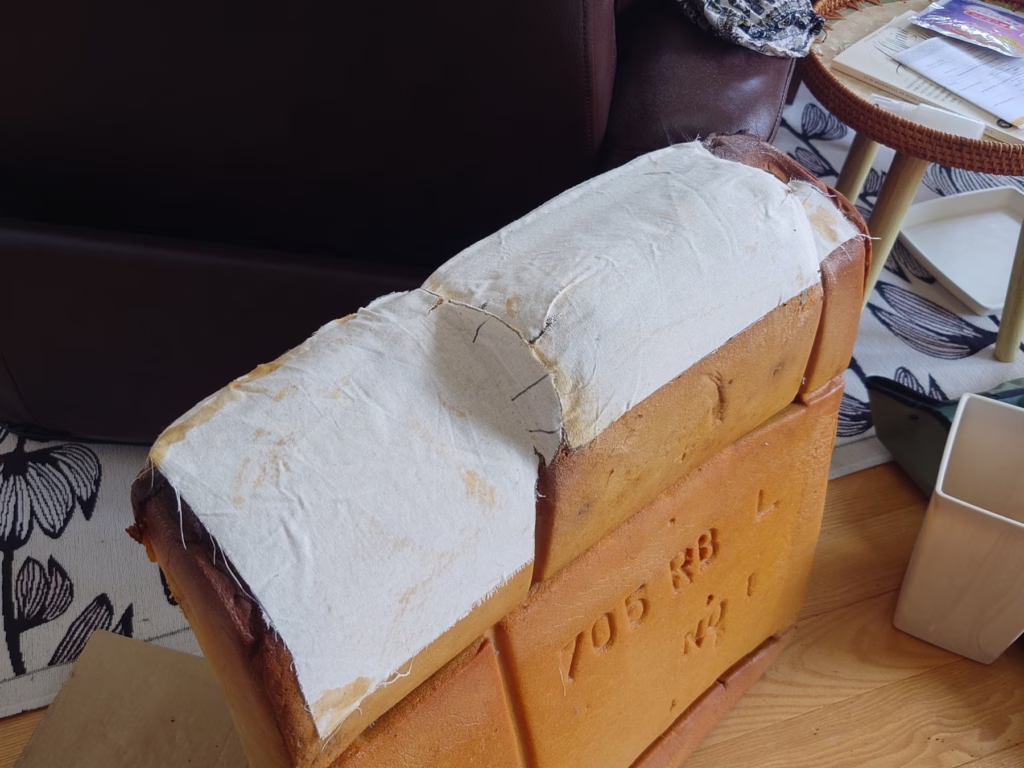
For above seat back, I used three large rectangular repair pieces that I trimmed after gluing them in place. Use a saw blade to roughly trim it in shape, and then use a sanding disc (60 grain) on an angle grinder to achieve the final shape.
Finally, I glue a layer of cotton cloth on the repaired piece to improve robustness.
The foam piece is now repaired and ready for installation.
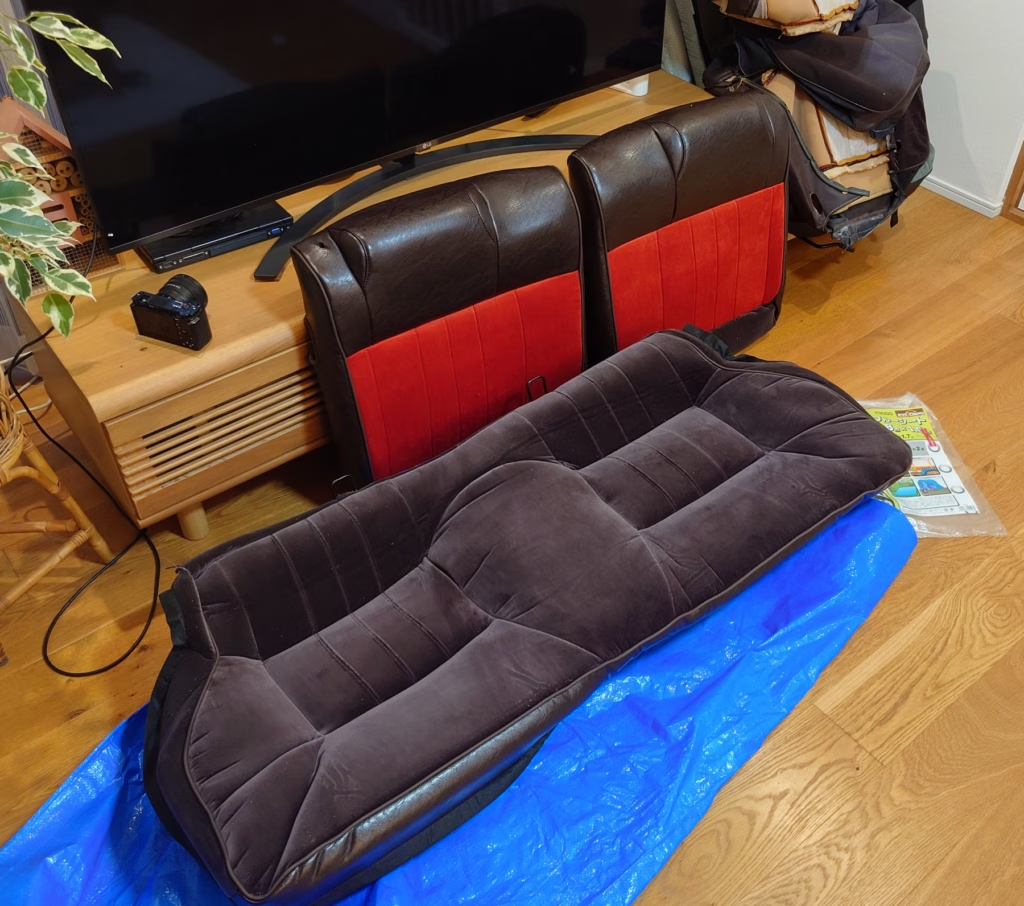
For the bottom part, the fitment is pretty good, but the fabric is a bit glossy. On pictures, it even looks a bit purple.
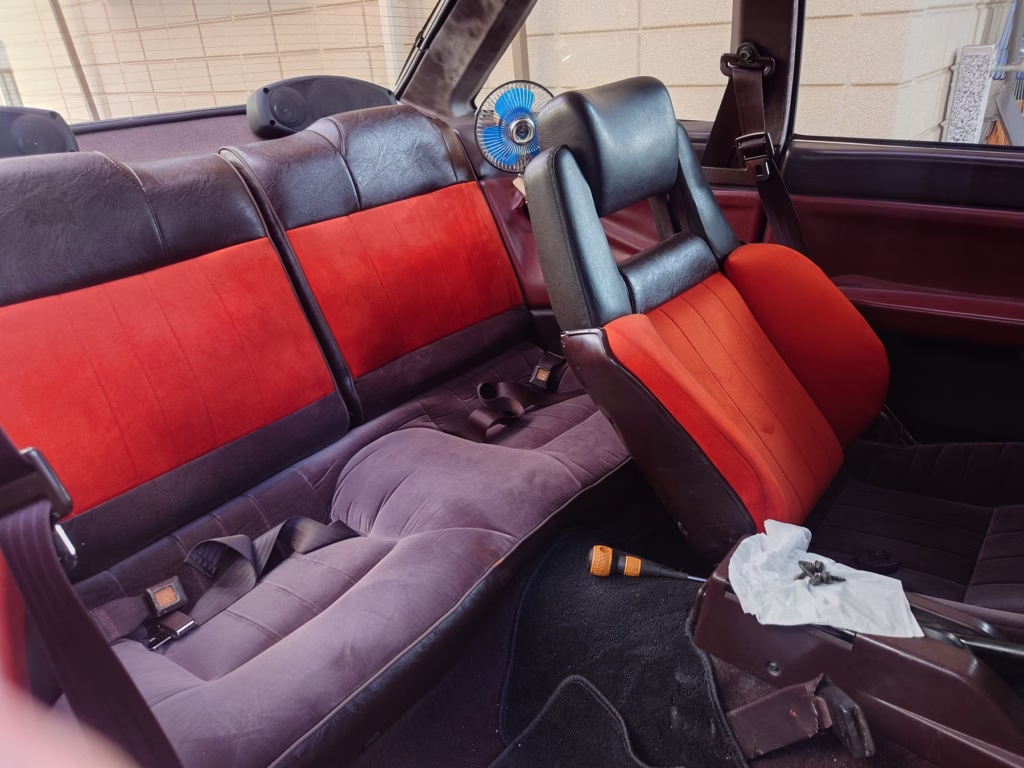
Driver Seat
Next, it was time to work on the driver seat.
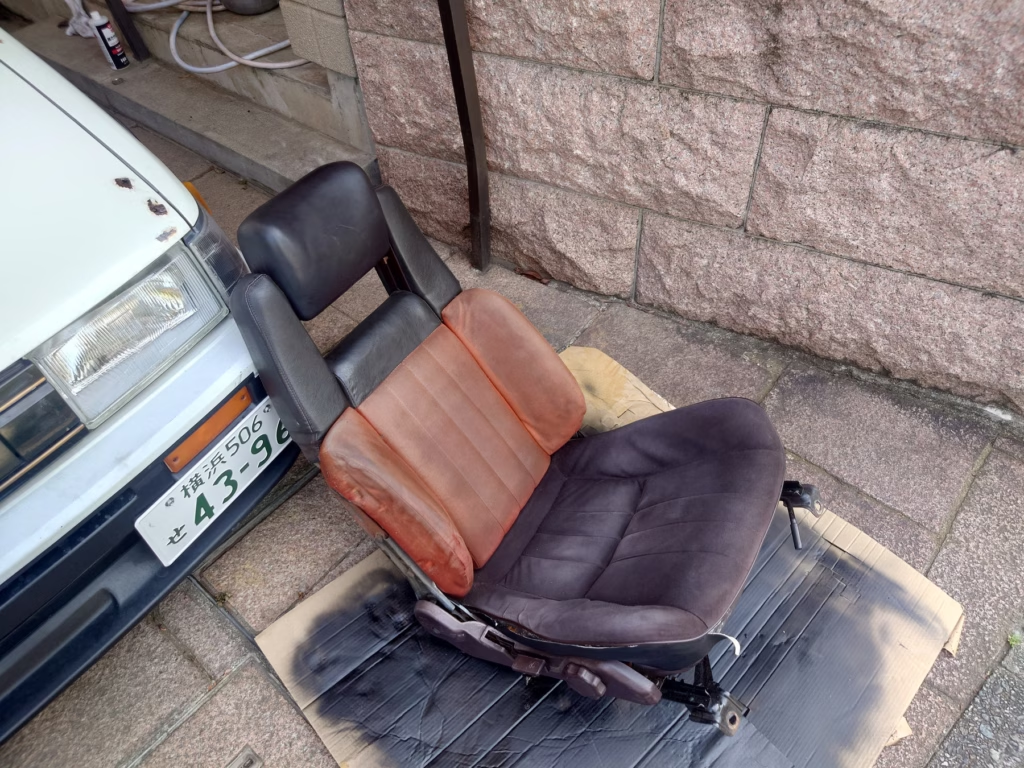
While it was not largely torn yet, the fabric was extremely worn.
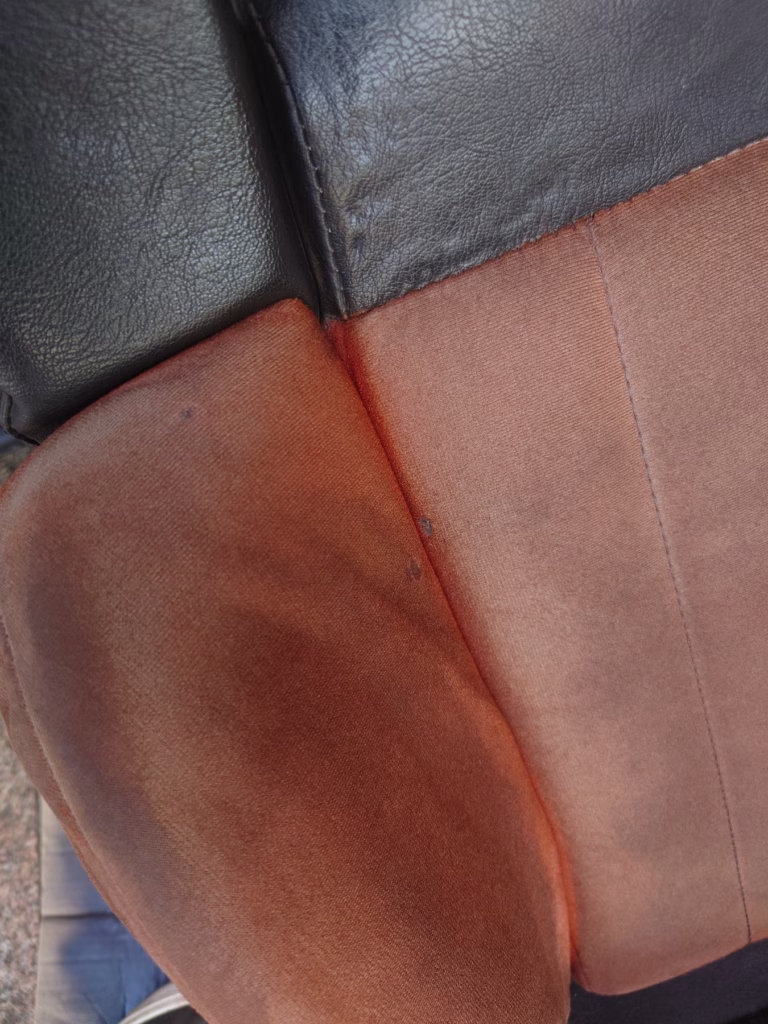
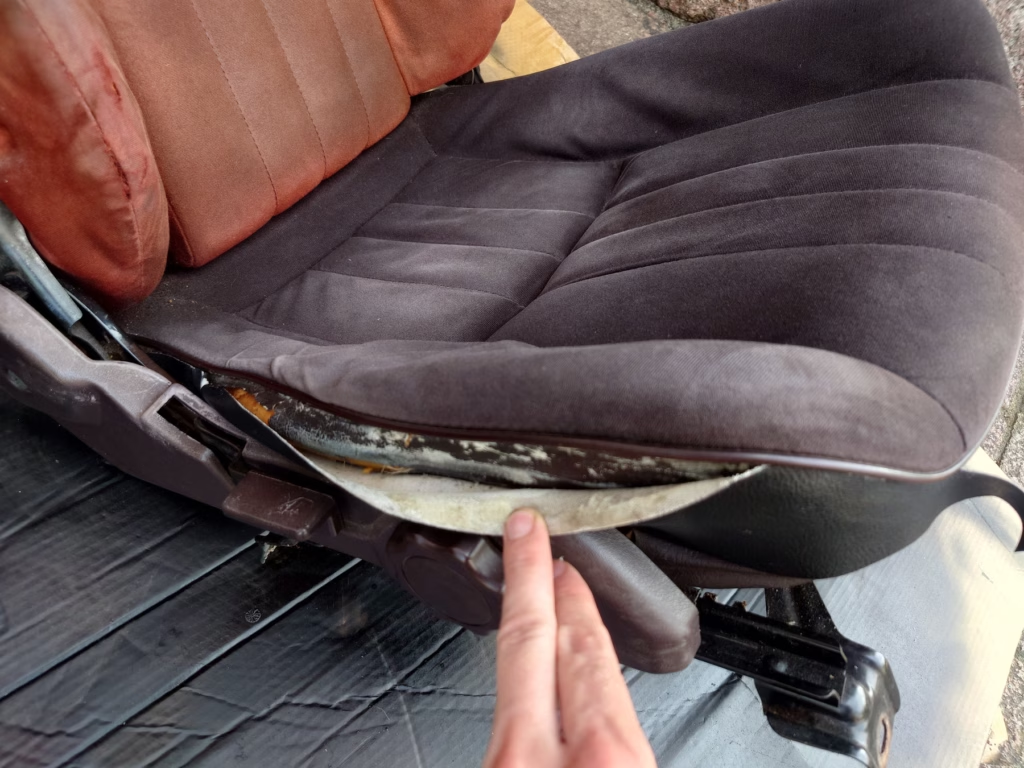
I drastically underestimated the amount of work it took to restore the driver seat: on the passenger seat, the metal frame was extremely rusty, but the foam was in good condition.
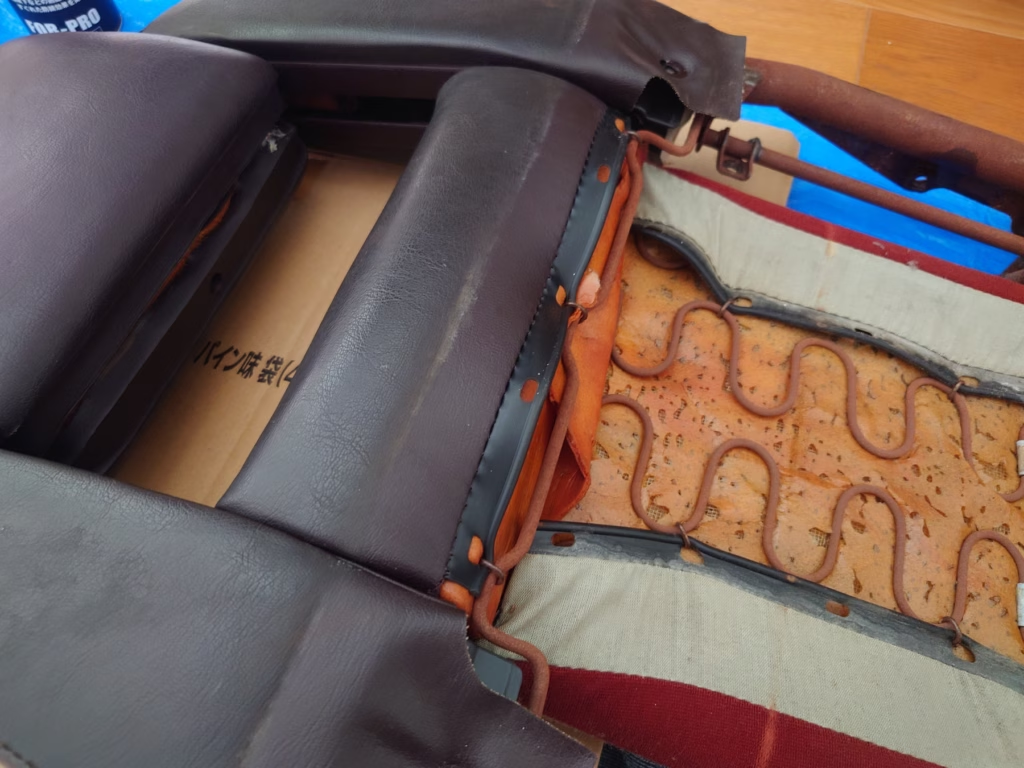
On this seat, it’s the opposite: the metal parts were still in good condition, but the foam was extremely worn after 40 years of use.
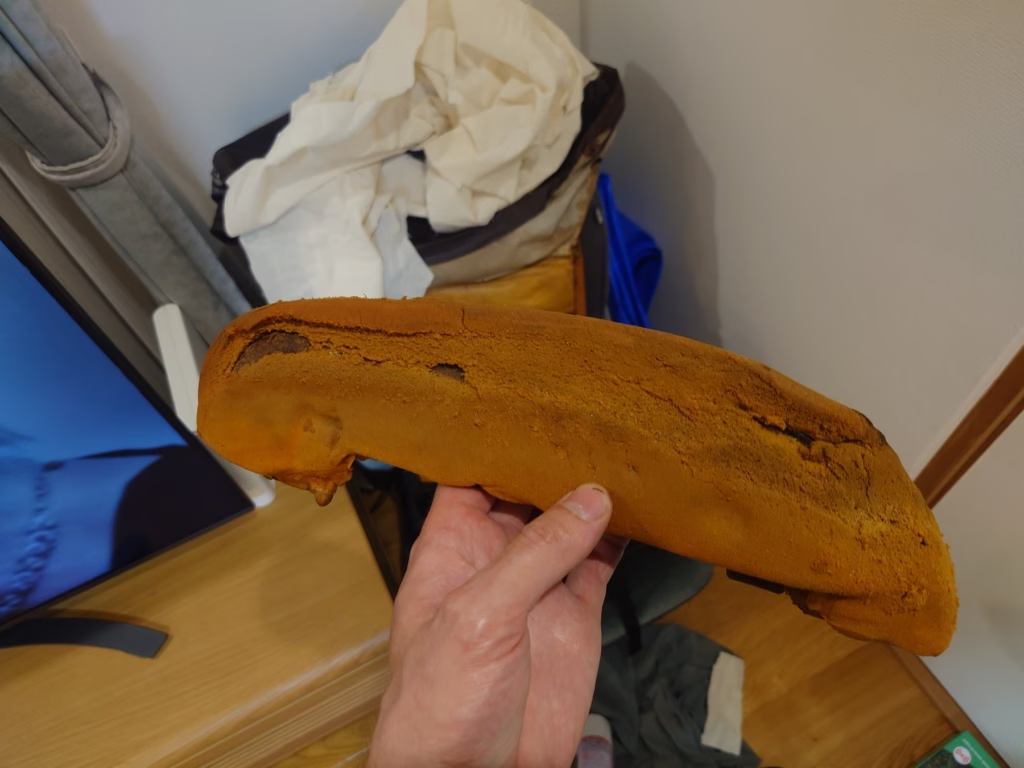
See what I mean?
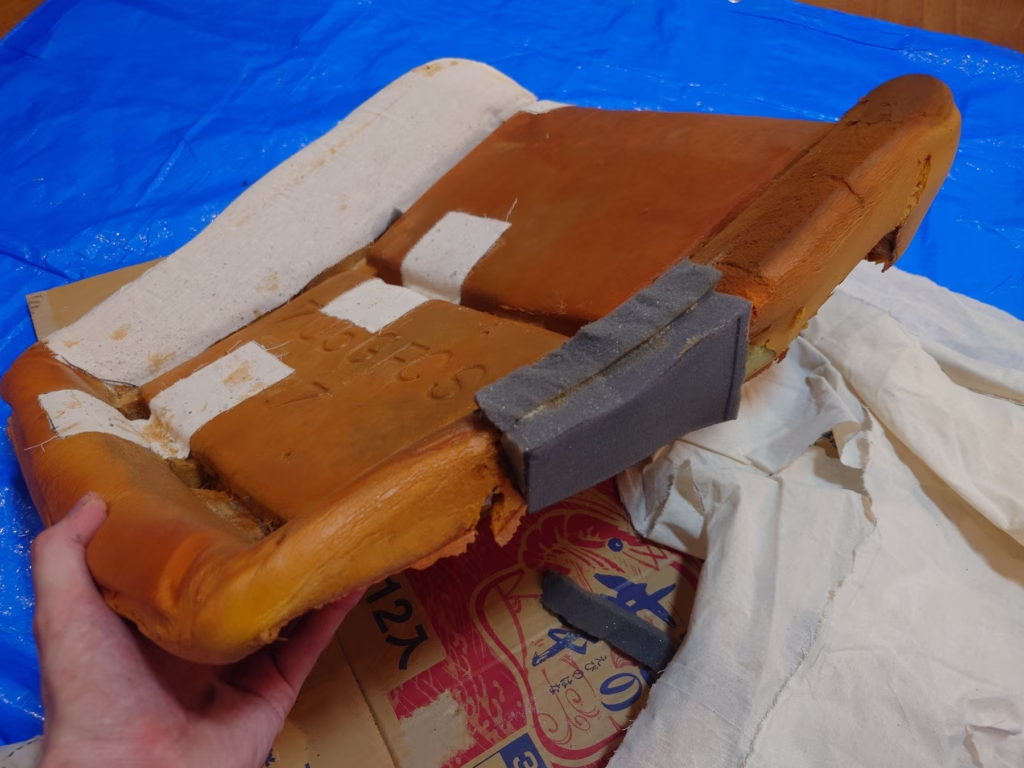
The seat base also needed large repair pieces.
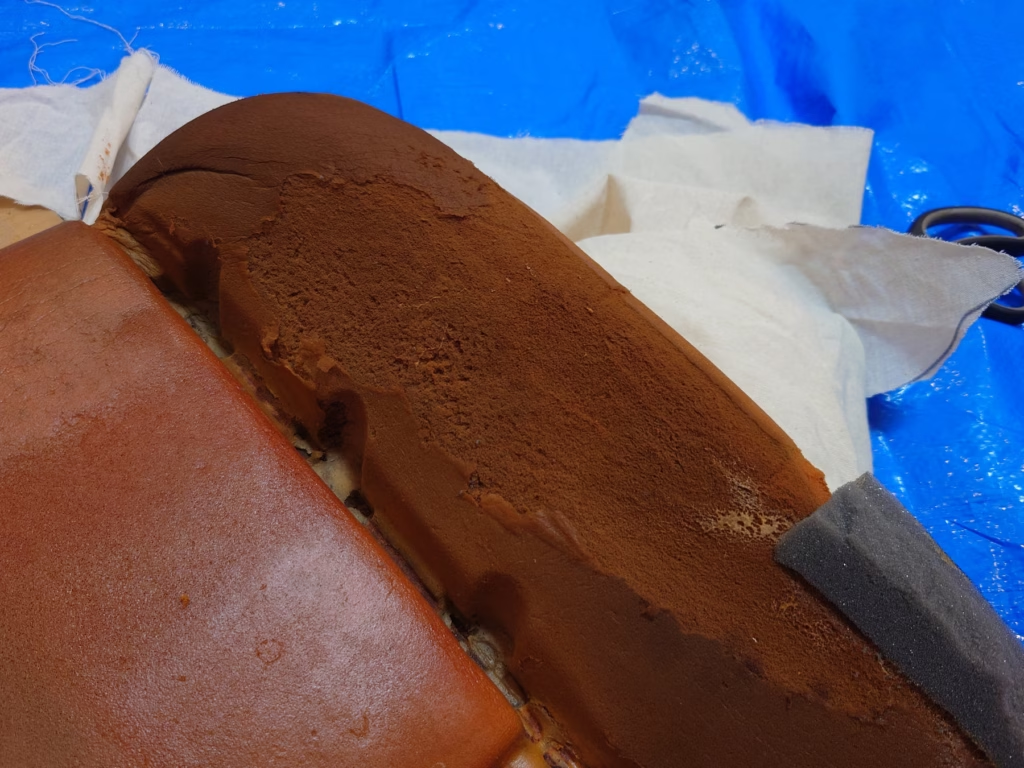
The entire seat side foam was weakened, and was quite difficult to repair satisfactory. Because the repair foam I used is slightly softer than the original foam, the seat now feels a bit too soft. I will probably at some point salvage better foam from a passenger seat and use it in my driver seat.
The seat frame was completely disassembled. I chemically removed the rust from the seat adjustment mechanics and spray-painted it black.
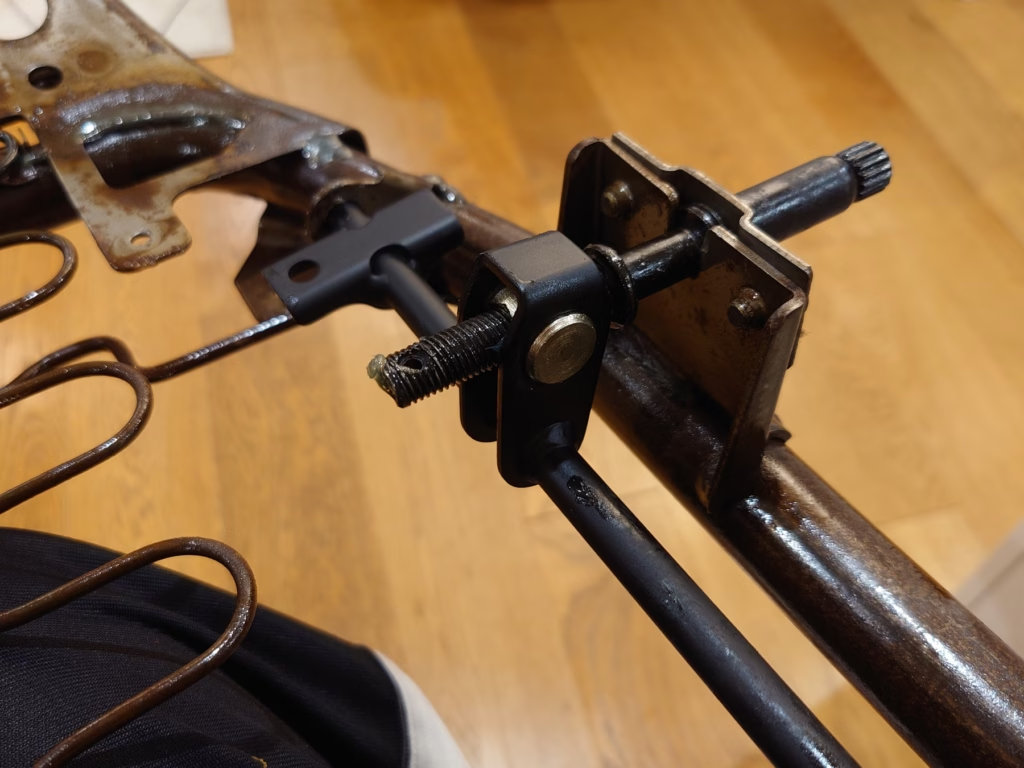
The frame itself got the same Owatrol oil treatment.
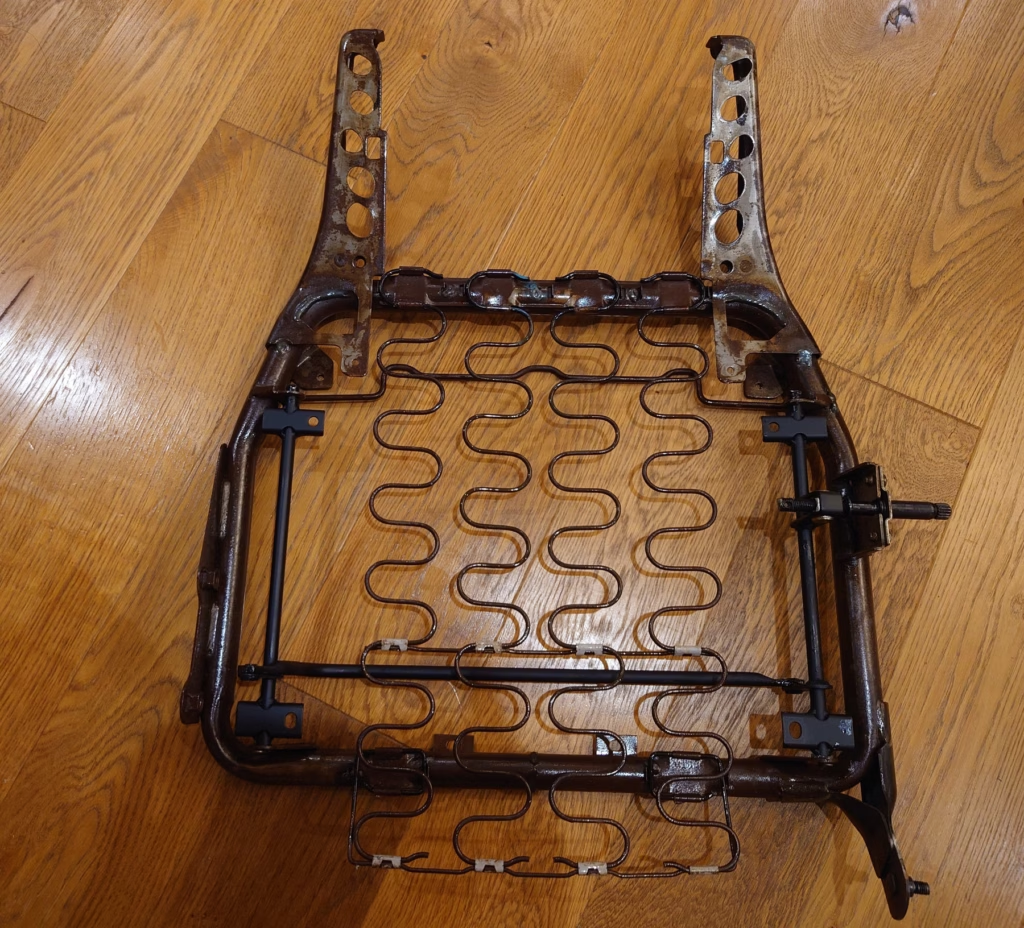
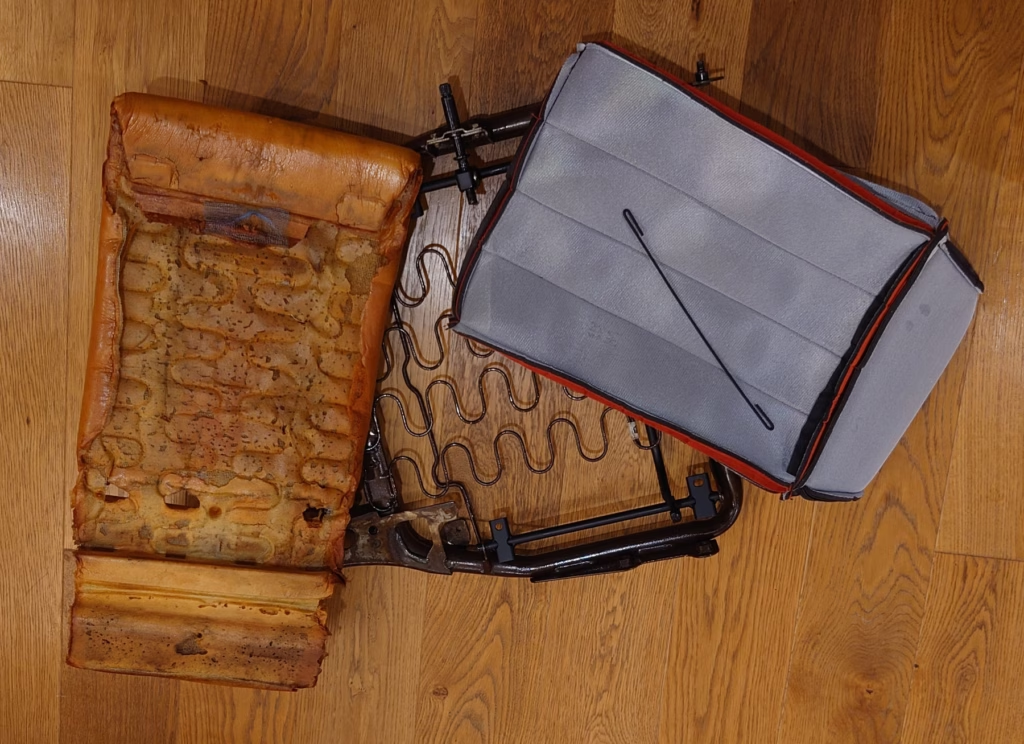
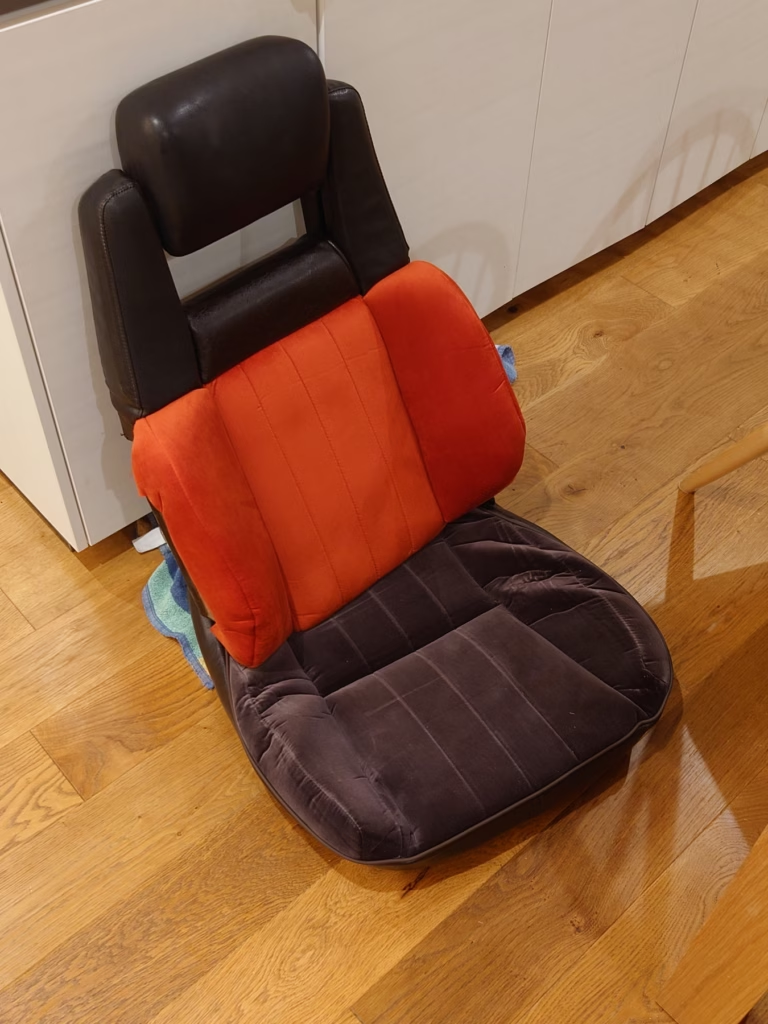
Driver seat backrest completed.
Final Result
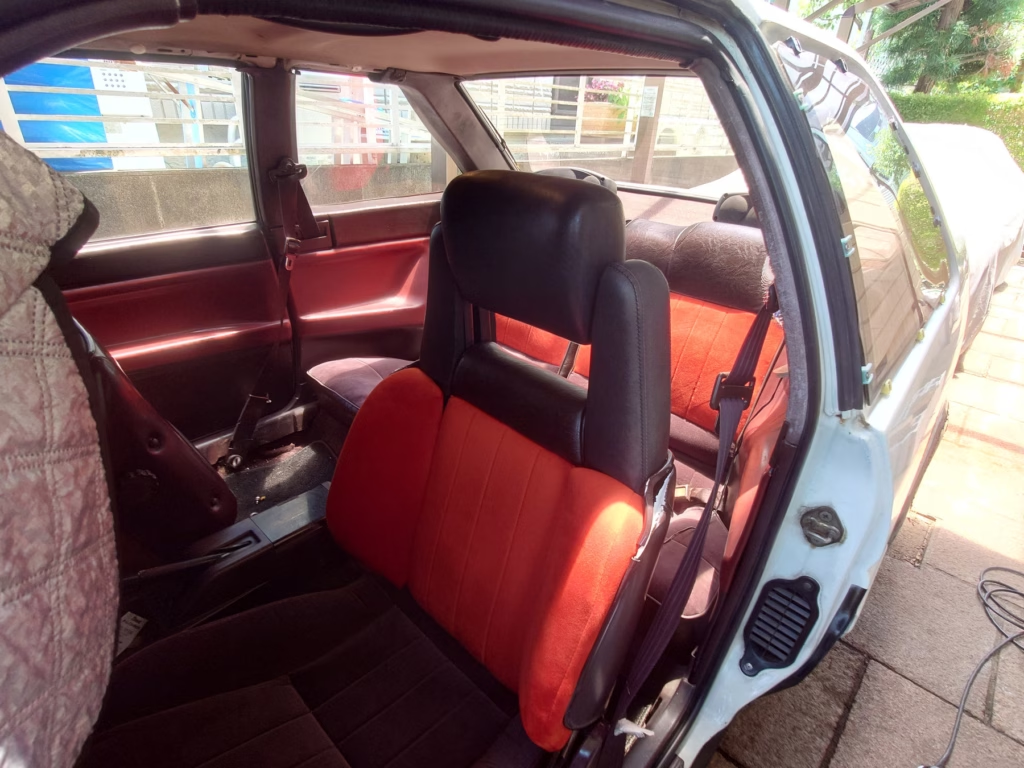
Seeing the entire interior fully restored looks amazing. I got somewhat used to the color mismatch, so in the end I am quite happy with the TimeMachine seat covers.