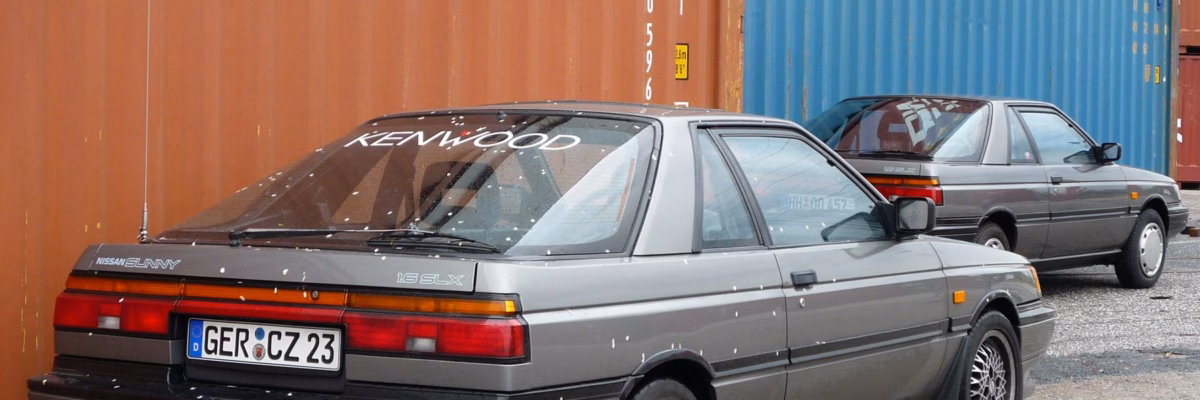
A frequent problem on the Nissan Sunny B12 Coupe (Rz-1) is water collecting in the spare tire well. The problem is usually caused by one or more of the following reasons:
- Leaking taillight gaskets (~100% of all Sunnys are affected)
- Water entering through the hatch, in case a spoiler is installed, or the rear window is not installed properly (common issue on the GTI type models)
- Rust underneath the rear trunk seal on the back panel (rarely)
I recommend to always replace the taillight seals, as they have been leaking on almost every Sunny I have seen.
Tools Needed
- A PH3 (PH2 will also work) crosshead screwdriver.
- A 8mm socket. The 1/8 rachet works best.
- Tail light sealant. The sealant is a butyl-based sealing tape. In Europe, a suitable replacement product is for example Teroson Terostat VII, available at Automotive stores or online.
- Optionally: Thin M6 flat and soft rubber washers for the mounting screws.
Step 1: Remove the Tail Lights
Remove the trunk trim pieces. Start with the tail section, by removing the bottom two screws. You can then pop up the entire piece, and don’t have to bother about removing every clip individually.
Next, remove the trunk side pieces to gain full access to the taillights. Remove the electrical connectors to the tail lights.
Next, remove the center garnish of the tail light. It is held in place by 6 8mm nuts. When removing, be careful to not lose the flimsy rubber seals put underneath. The tail lights are held in place by three nuts. Disconnect the electrical connector.
Removing the taillights needs patience, the old sealant is quite strong. I recommend using a hair dryer and gently push from the inside, while also pulling from the outside. Don’t pull too strong on the upper lid of the taillights, as you may break it. Take your time and the lights will come off without too much force. Avoid using box knifes as you may risk damaging the paint on the body or the tail lights.
Step 2: Clean the Remaining Sealant
Removing the old sealer is as pleasant as removing bubble gum. It takes time and patience. Avoid using aggressive chemicals as they may damage the taillights. I usually scratch of the sealer with my fingernails and use Isopropanol for cleaning the residue.
Step 3: Install the New Sealer
Make sure to clean your hands or use gloves to avoid getting fat onto the sealant surfaces. Properly clean the mating surfaces with alcohol or Isopropanol.
Take a section of the new sealant, and make sure the diameter is similar to the original sealer. For the Teroson sealant I frequently use, I found it a bit too thick, so I very gently stretch it in my hands to make it slightly thinner, and then put it onto the taillights. I always position the point where the two ends of the sealer meet at the bottom center of the taillight.
Before reassembly, make sure the rubber washers for the mounting screws are still present and in good condition. Replace if necessary.
Step 4: Reinstall Everything
Put the taillight back onto the car. Carefully tighten the screw in multiple rounds, as the sealer needs some time to adapt to the shape. I usually do 4-6 turns, until the three screws are fully tightened.
Reinstall the center light garnish and the trunk trim pieces.
Additional Information
Not super trivial, but in case you have also removed the rear bumper – the “pockets” on the side of the trunk area feature a small vent. The vent is also sealed using the same type of sealer. In case you have also removed the rear bumper, I recommend to also reseal these vents.